Kitchen plumbing Canberra

Blueline Plumbing & Gas provides professional residential kitchen plumbing services in Canberra.
Make an inquiry

Professional kitchen plumbing service
Kitchen plumbing
Our experienced tradespeople can assist you with putting in a dishwasher, fixing a tap or installing a kitchen sink. On kitchen projects, using a licensed plumber is preferable. Our staff is trained and competent to manage all of your kitchen plumbing requirements. We follow the rules and standards for home safety in Australia. If you choose our services, you'll get benefits like our high rating and history of doing good work. We have a lot of experience in the field and can handle any kitchen plumbing job quickly and well. Our friendly and reliable service will take care of all of your kitchen plumbing needs in a professional way.
Our comprehensive kitchen plumbing services
Blueline Plumbing & Gas is happy to serve our valued customers in Canberra and the surrounding areas with all of their kitchen plumbing needs. You can be sure that your kitchen will work well and quickly because our licensed plumbers in Canberra know a lot about all the different parts of kitchen plumbing. You can trust our plumbers to help you with any sink problem, whether you need a new one or one that has been fixed. We also put in gas lines and systems for hot water in kitchens. Our main goal is to provide dependable, professional service by working on high-quality work and making sure customers are happy. Do not worry—we will do what you want, and your kitchen will still be fully functional during the process.
Blueline Plumbing & Gas are your local specialist for all domestic plumbing and gas fitting needs.
Get in touch for a quote or speak with a qualified plumbing specialist. You can count on us to find the best solution if you need plumbing or repair help right away.
Blocked drain repairs
Blockages in wash basin drains are aggravating. Blueline Plumbing & Gas provides experienced washbasin unclogging and repair services. We remedy the plumbing issue and teach consumers how to dispose of waste to prevent future clogs. Our plumbers employ cutting-edge equipment to remove clogs thoroughly. Our skilled plumbers can detect and remove the clog using cutting-edge equipment. We fix blocked wash basin drains and give you prevention tips when you hire us. We promise excellent service and a smooth process.
Leaking or burst pipes
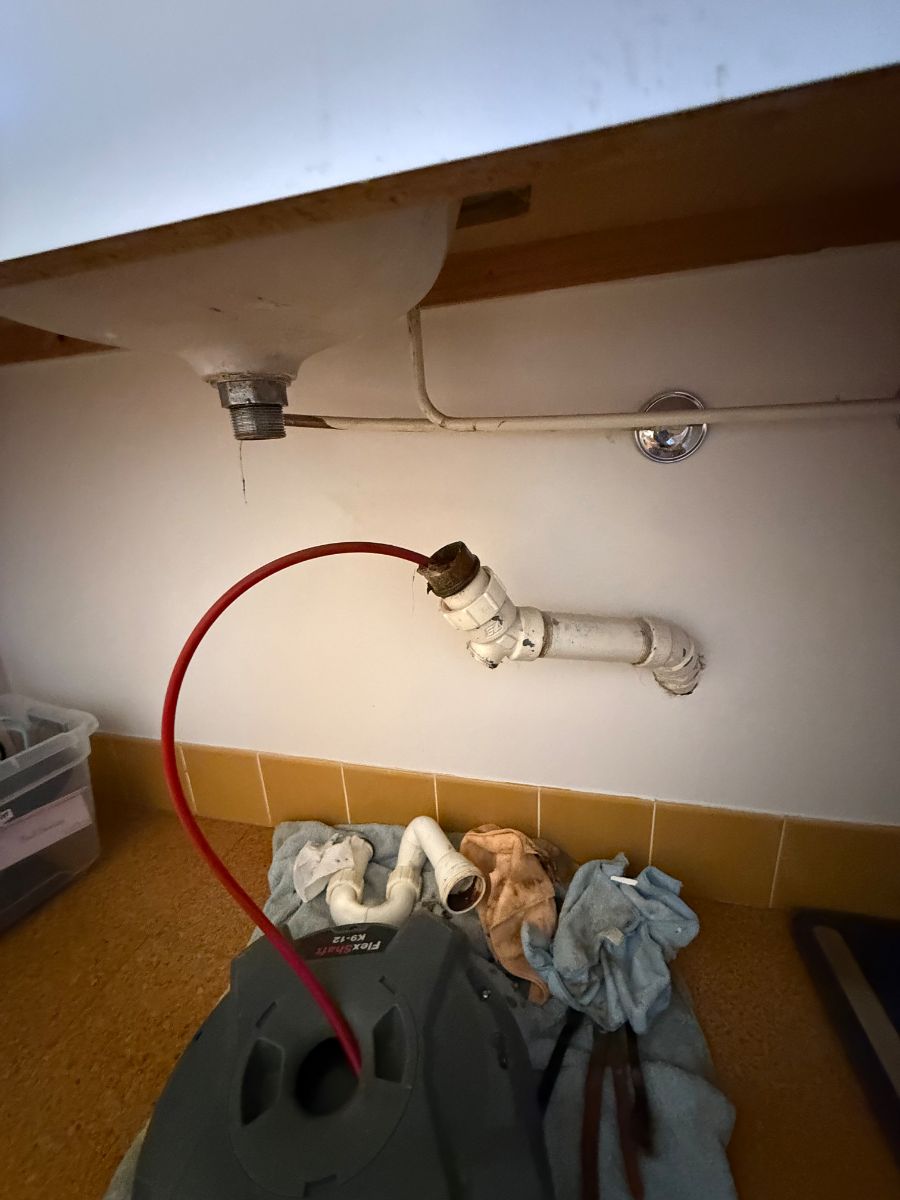
When pipes in the kitchen leak or break, they can cause a lot of trouble and even damage. This includes things like water damage, higher water bills, and breaks in the water flow. Blueline Plumbing & Gas is great at fixing pipes that need to be fixed right away because they know how important and pressing these situations are. You can count on our skilled plumbers to quickly fix any broken or leaking pipes in your kitchen. With our state-of-the-art tools, we can quickly find and fix the problem's root cause. We fix or replace broken pipes quickly and skilfully to get your kitchen plumbing back to normal. When you live in Canberra and the winters can be harsh, you need a plumbing service that really understands the problems that come with being cold. Our skilled plumbers know how to fix pipes that have burst because of freezing weather, quickly stopping any more damage.
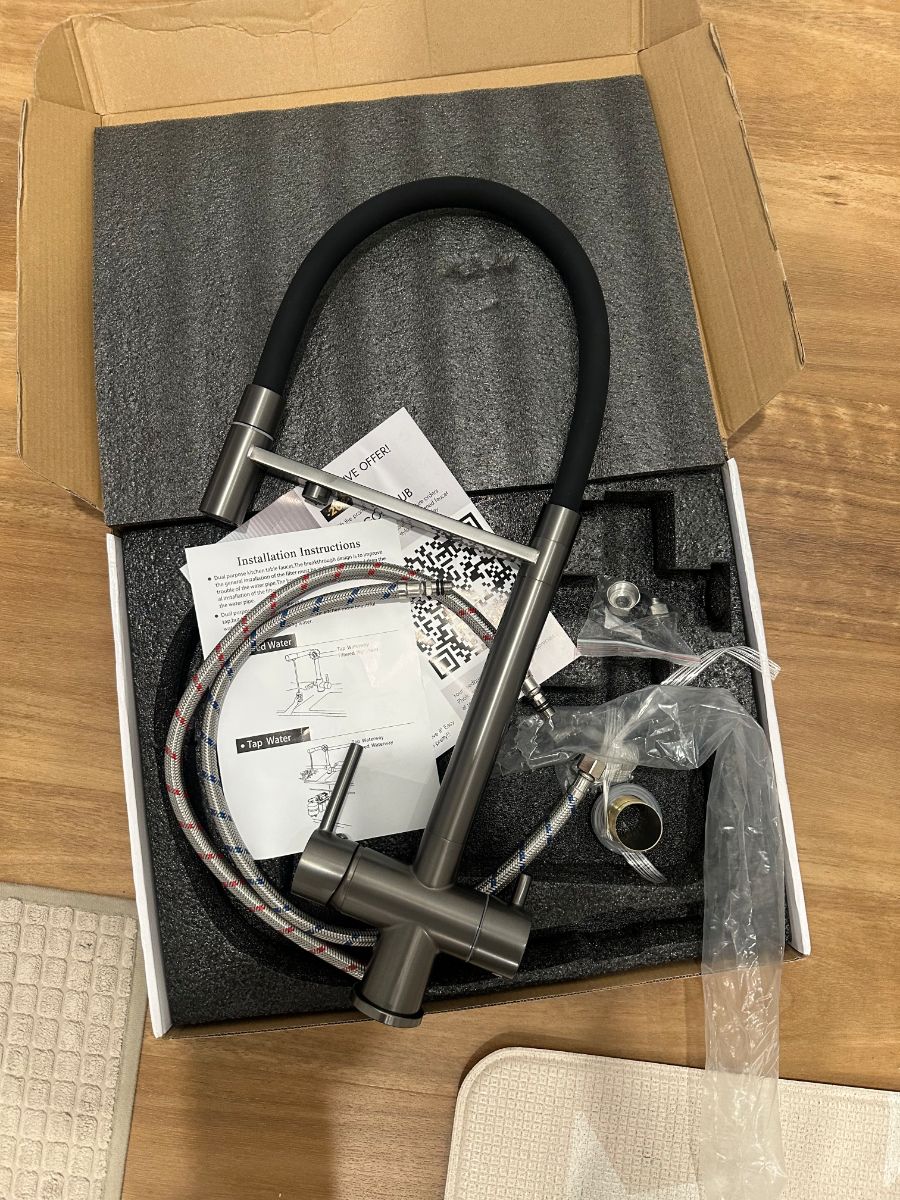
Expert tap repairs
Blueline Plumbing & Gas is the best at all of their plumbing and gas work. Our professional plumbers quickly find and fix typical tap issues like leaks. We know how inconvenient it is when your taps break, and we're here to fix them quickly and correctly. Our professional plumbers can find the problem and fix it in just one visit. Our skills and tools make sure that the job is done correctly, whether you need a quick fix or a full update. When it comes to remodelling for kitchens, bathrooms, and laundry rooms, we are experts in wet area plumbing. We know how to make your wet areas both useful and beautiful, whether it's adding fixtures or updating your plumbing systems. You can count on the skilled professionals at Blueline Plumbing & Gas to fix your faucets and handle plumbing issues in wet areas.
Seamless dishwasher installation
At Blueline Plumbing & Gas in Canberra, we specialise in all plumbing and gas-related services, including expert dishwasher installation. Our team of licensed gas plumbers has the expertise to handle the installation of a variety of household appliances, including dishwashers. When it comes to dishwasher installation, our experienced plumbers ensure that all connections are safely attached, making the process straightforward and efficient. We understand the importance of proper installation to ensure smooth operation and prevent any potential leaks or issues in the future. With our attention to detail and precision, you can trust that your dishwasher will be installed correctly. At Blueline Plumbing & Gas, we take pride in providing top-quality service to our customers. Our team is committed to excellence and delivering the highest level of workmanship. When you choose us for your dishwasher installation, you can expect professional service and reliable results.

Canberra kitchen plumbing
Kitchen plumber Canberra
Kitchen plumbers Canberra
Canberra kitchen plumber
Canberra kitchen plumbers
Contact us
Our team is ready to assist you!
19 Battye St, Bruce ACT 2617, Australia


-p-500.webp)


