Bathroom plumbing Canberra

If you're looking to renovate or improve your bathroom in Canberra, Blueline Plumbing & Gas is the leading specialist in plumbing and gas-related services in the area.
Make an inquiry
Bathroom renovations and improvement service
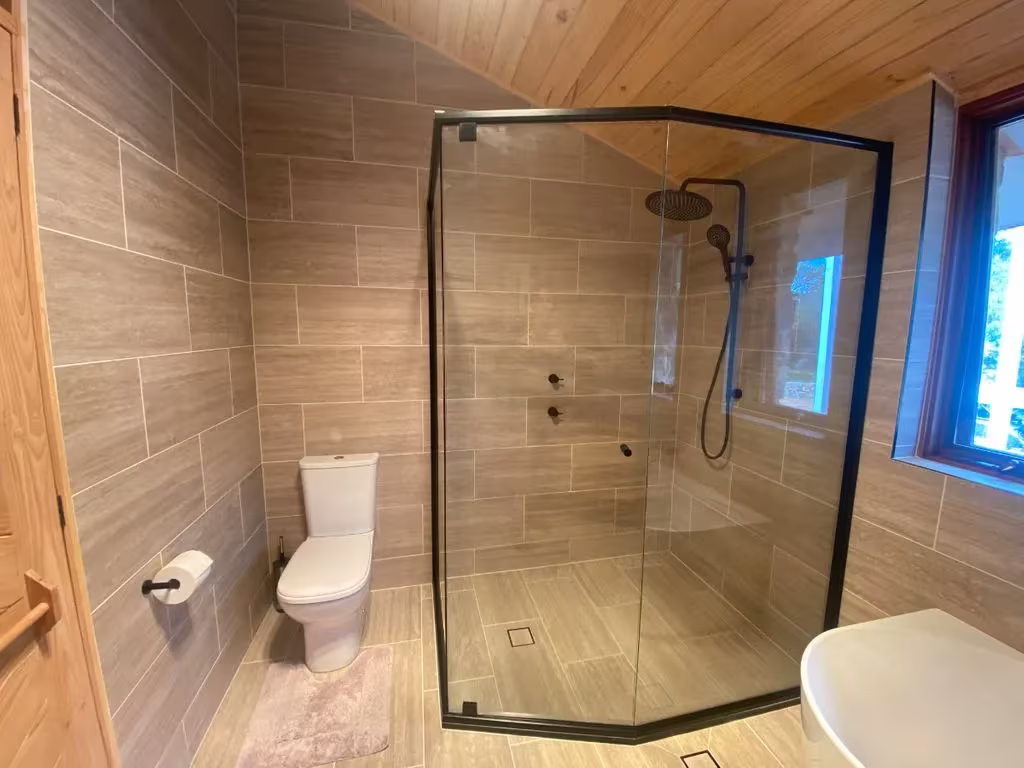
We can help you with many aspects of remodelling your bathroom, such as installing showers and bathtubs, finding ways to save water, plumbing maintenance and general plumbing. Our skilled plumbers in Canberra are ready to take on any bathroom renovation project. They know how to install the water supply, drainage plans and fixtures correctly so that problems don't happen again. Our great communication and project management skills, along with our speedy ability to meet deadlines and offer same-day service, make us very proud. The qualified plumbers we hire do great work and treat customers well. Blueline Plumbing & Gas is the company to call if you want to remodel your bathroom in Canberra.
We provide an incredible range of bathroom plumbing services
Bathroom plumbing
We do a huge variety of plumbing work in bathrooms in Canberra. Any plumbing job can be done by our team of skilled professionals. We can install and fix toilets, remodel bathrooms, and find ways to save water. We know how important it is to have good plumbing when remodelling a bathroom. We make sure that the water supply, drainage plans, and fixtures are all installed correctly to avoid problems in the future. We try to keep your daily life as smooth as possible by communicating clearly, managing projects well, and providing same-day service.
Blueline Plumbing & Gas are your local specialist for all domestic plumbing and gas fitting needs.
Get in touch for a quote or speak with a qualified plumbing specialist. You can count on us to find the best solution if you need plumbing or repair help right away.
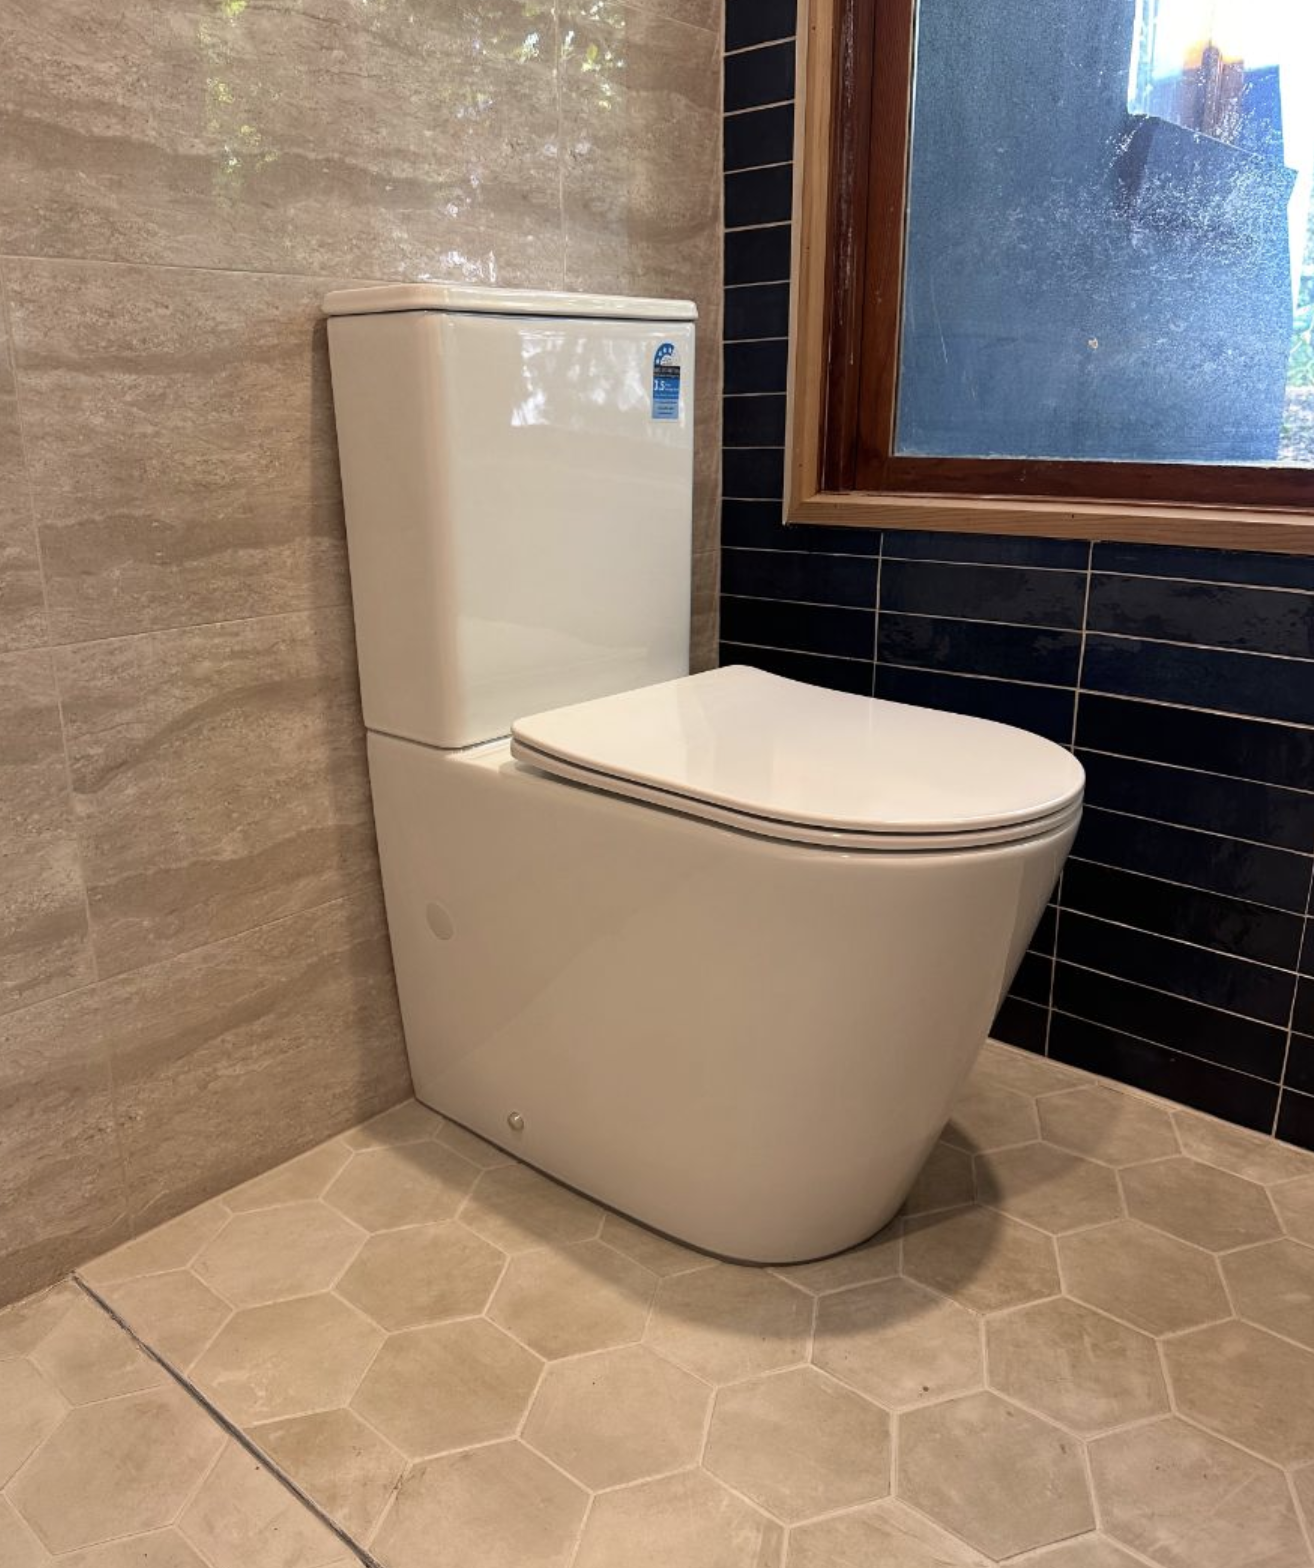
Toilet installation
Installing toilets is what Blueline Plumbing & Gas does best in Canberra, Australia. We put a high value on proper installation to avoid problems in the future. Our plumbers are good at what they do and have done it before. When we install, we follow a set of steps. First, we take out the old toilet and check the plumbing to see if there are any problems. We can fix any issues before putting in the new toilet this way. Next, we get the installation area ready by making sure the base is clean and stable. We pick the toilet model that best fits your needs and the style of your bathroom. We pay special attention to sealing and anchoring during installation to avoid leaks and make sure the structure is stable. Our team connects all the parts that need to be connected for the system to work right. To make sure the installation is reliable, we test it thoroughly for leaks using special tools. Toilet maintenance is important to keep problems from getting worse and to make the toilet last longer. This can be made easier by hiring a qualified plumber to do inspections and repairs.
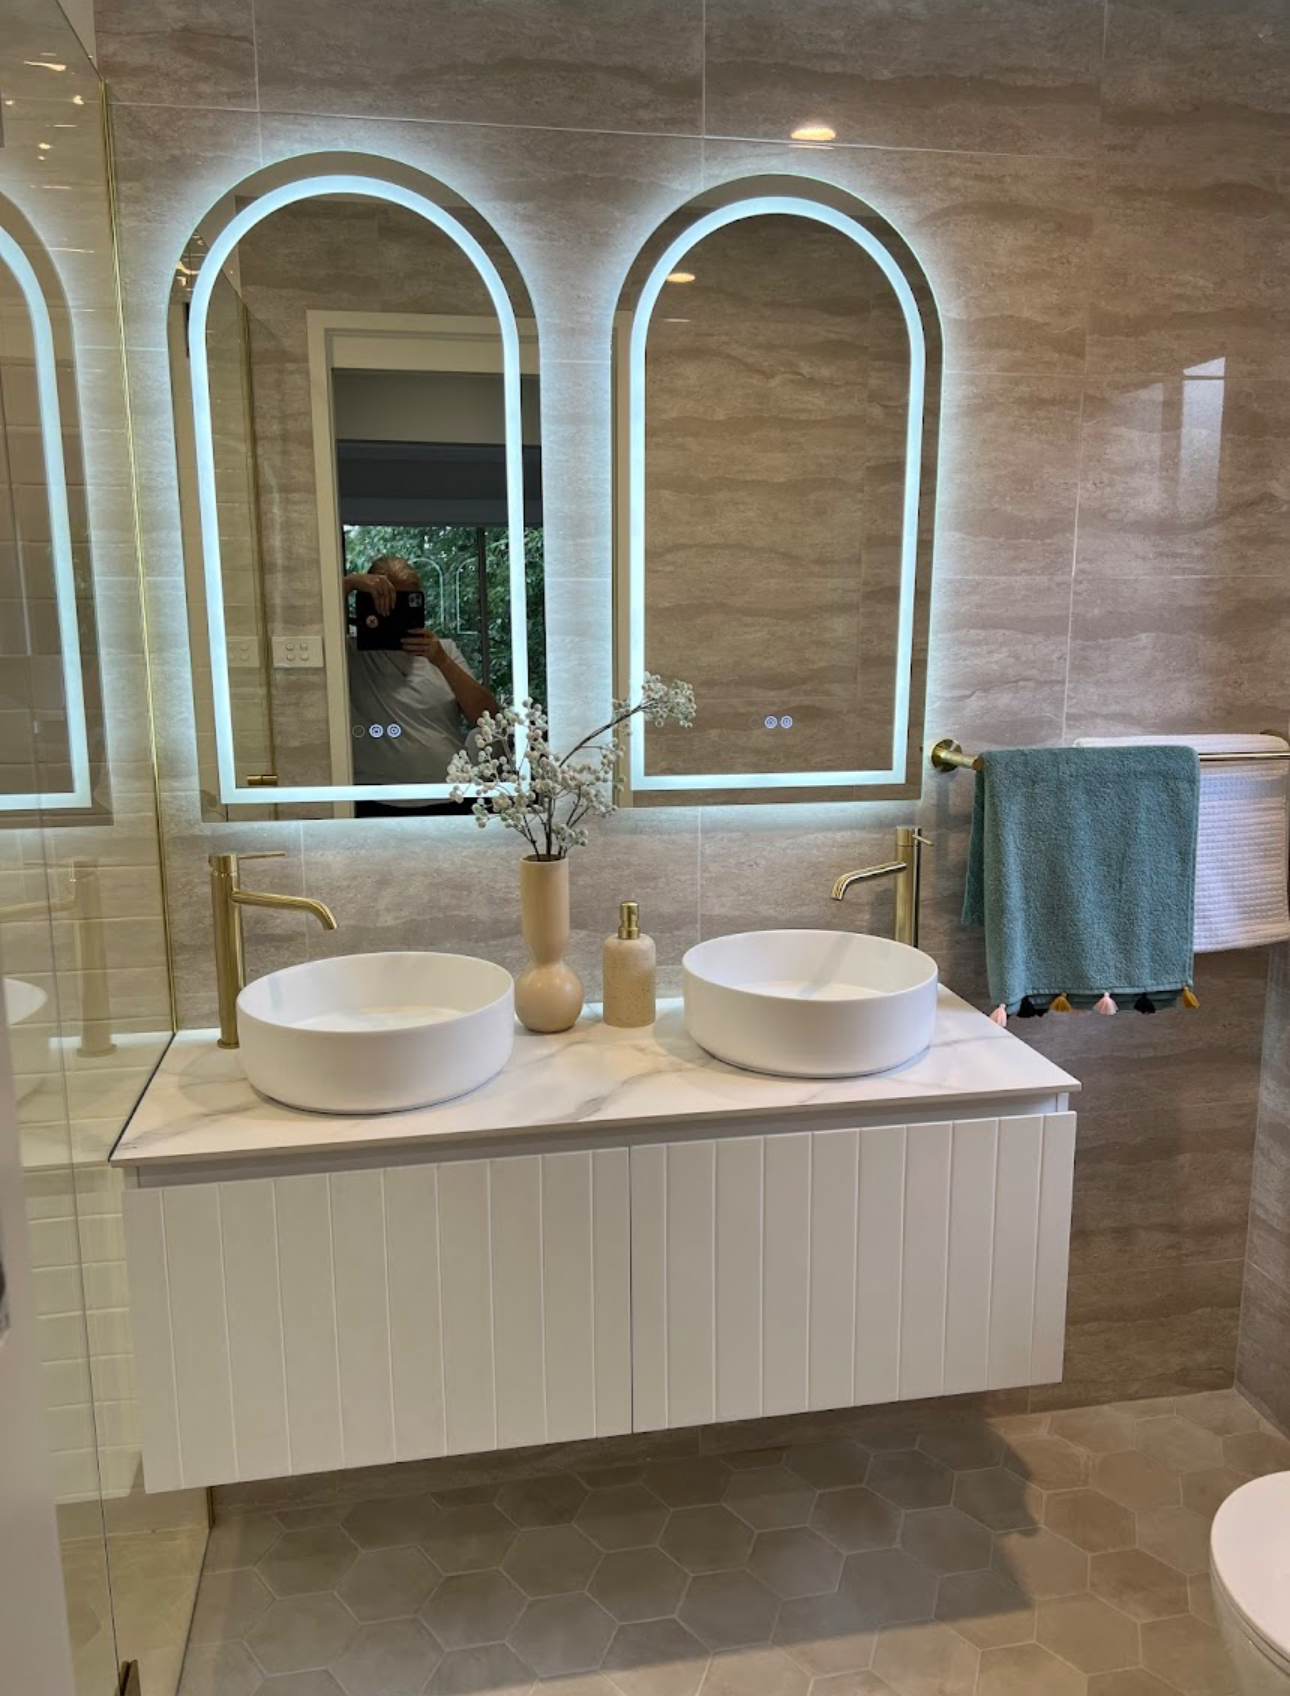
Vanity installation experts
We do plumbing and gas work, like replacing vanities, as our main business at Blueline Plumbing & Gas. Our professionals are very good at installing vanities because they've done it many times before. We have a lot of high-quality vanity options for people with a wide range of tastes and styles. Our staff knows what they're doing and can help you make a choice. Don't worry—your new vanity will be put in with precision and care, with proper anchoring and sealing being the top priorities. Our professional plumbers will make all the connections that are needed to make sure everything works perfectly. Have fun making your bathroom beautiful! Don't let water damage, surface cracks, mould, or old-fashioned looks get in the way. You can count on Blueline Plumbing & Gas to give you great service and high-quality products. Get in touch with us right away to change your bathroom.
Liven up your bathroom with new fittings
At Blueline Plumbing & Gas, we understand the importance of functionality and aesthetics in your bathroom. That's why we offer a range of new fittings to give your bathroom a fresh, modern look. Upgrading your tapware can instantly transform the appearance of your bathroom. Our knowledgeable staff can help you choose the perfect taps to suit your taste. Replacing old cisterns and toilet seats can also give your bathroom a clean, updated look. Our experienced professionals can handle the installation process.
We can give you the bathroom of your dreams
Blueline Plumbing & Gas is your go-to for bathroom fitting installations here in Canberra. While we don't take on full bathroom reno management, our crew can help with the fit-out of your bathroom gear. Our qualified plumbing team are ace at fitting tapware, swapping out cisterns, and sorting out any other plumbing jobs in your bathroom. We're all ears when it comes to understanding what you're after, and we're spot-on with our attention to detail for every job. For any other plumbing needs around the house, like fixing the loo or getting the hot water going, Blueline Plumbing & Gas in Canberra has got you covered. We reckon there's nothing like doing a top-notch job and sticking to the timeline.
.png)
Canberra bathroom plumbing
Bathroom plumber Canberra
Bathroom plumbers Canberra
Canberra bathroom plumber
Canberra bathroom plumbers
Bathroom repairs Canberra
Contact us
Our team is ready to assist you!
19 Battye St, Bruce ACT 2617, Australia


-p-500.webp)


